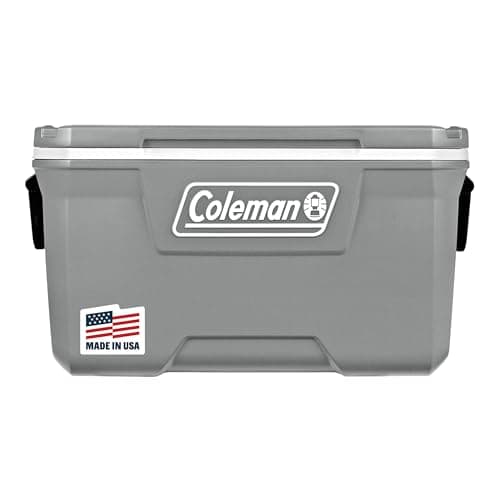
Coleman Classic 70-Quart Cooler
Coleman
70 qt is enough to keep the 2:1 ice ratio and still carry a weekend of food for a family.
$74.99 · Check price on Amazon
#ad how this is funded · price as of October 23, 2026
The order you do things in matters more than what you spend. Here is the sequence, from the freezer at home to the last day of the trip.
Trail & Tarp earns a commission from qualifying purchases made through links on this page, at no extra cost to you. Full disclosure.
The short answer
A cooler that has been in a garage all summer is a warm box, and the first thing your ice does is cool the plastic instead of your food. Bring the cooler inside the night before, or pour in a cheap bag of ice a few hours ahead and dump it when you pack. This costs a few dollars and buys back hours.
Anything you will eat on day three should go in frozen: meat, cooked chili, sausages, milk in a plastic bottle. Frozen food acts as extra ice for the first day and thaws in time to be eaten. Two frozen gallon jugs of water are the cheapest block ice available, and when they melt you have drinking water instead of a cooler full of soup.
Never put room-temperature food or warm drinks into a cooler. The ice will bring them down, and it will spend most of itself doing it. Everything that goes in should already be refrigerator-cold or frozen. The cooler's job is to hold a temperature, not to reach one.
The rule of thumb is two parts ice to one part contents, by volume. YETI publishes exactly this for the Tundra 45: 54 cans with no ice, or 28 cans at a 2:1 ratio. A cooler packed half-full of food and half-full of air will not hold, because air is what you are trying to eliminate. If you have space left, fill it with more ice.
Digging is the enemy. Every thirty-second rummage with the lid open costs you more than anything on this list gains.
Drinks get opened twenty times a day; food gets opened twice. Putting both in the same box means the food cooler is opened twenty-two times. A cheap second cooler, or even an insulated bag with a few cubes, is the single highest-value change you can make, and it costs less than upgrading a cooler.
Food safety, plainly
Perishable food should be kept at or below 40 F, and the sensible practice is to discard anything perishable that has sat above that for more than two hours, or one hour above 90 F. A cheap fridge thermometer in the cooler removes all guesswork, and on a week-long trip it is the difference between confidence and hoping. Raw meat goes in a sealed container, on the bottom, never loose.
That 40 F line is also the test for a 12V thermoelectric cooler, which cools a set number of degrees below the outside air rather than to a fixed temperature — so whether it is safe for perishables depends on the weather that day. Best 12V coolers for camping does that arithmetic ambient temperature by ambient temperature.
Shade, off the ground, and ideally under a table with a light-colored towel over the lid. Direct sun on a dark lid is a slow heater. A hot car trunk is worse than anything outside, so if you are driving during the day, keep the cooler in the cabin rather than in the trunk.
The honest answer is that a single cooler will not keep fresh food safely cold for seven days in summer heat, and planning for it is how people get sick. Instead:
For what the coolers themselves claim, see how long does ice last in a cooler, and for the coolers we would buy, best coolers for camping. The rest of the kitchen setup is in the camp kitchen setup guide.
Coleman
70 qt is enough to keep the 2:1 ice ratio and still carry a weekend of food for a family.
#ad how this is funded · price as of October 23, 2026
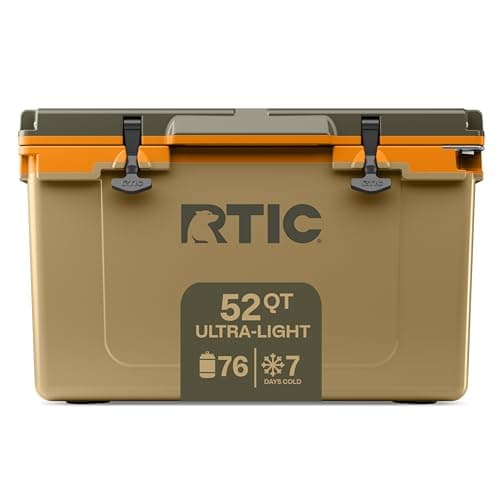
RTIC
Lighter than a rotomolded cooler of the same capacity, with a published ice claim and the conditions it assumes.
#ad how this is funded · price as of October 23, 2026
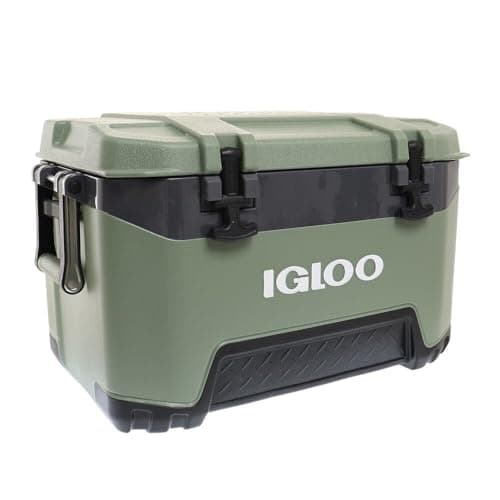
Igloo
The size most families actually need, if 70 qt is more cooler than your car boot allows.
#ad how this is funded · price as of October 23, 2026
Pre-chill the cooler, freeze what you will eat later in the trip, put everything in already cold, pack about two parts ice to one part food, use block ice or frozen water jugs, keep drinks in a separate cooler, and store it in the shade with the meltwater left in.
Plan fresh food for the first three days and shelf-stable food after that, and budget for one ice run mid-trip. A single cooler cannot reliably hold fresh food below 40 F for seven summer days, and treating it as if it can is a food-safety risk.
By changing what they eat. Cured meat, hard cheese, tinned fish, pasta, rice, and dehydrated meals need no refrigeration at all. Partially submerging sealed food in a cold stream helps a little, but it is not reliable enough for anything perishable.
At or below 40 F for perishable food, which is the same standard as a home refrigerator. A cheap fridge thermometer in the cooler tells you where you are instead of leaving it to guesswork, and it costs almost nothing.
Every figure on this page comes from a published source. We have not tested this gear, so the numbers are the manufacturer's or the standard body's, not ours. How we research.