The Camp Kitchen Setup Guide: What to Buy and Where to Put It
A camp kitchen is a workflow, not a shopping list. Set it up in the right order and cooking outdoors is easy; get the layout wrong and every meal takes an hour.
Set up in a line: cooler, prep surface, stove, then a wash station downwind. Everything in a camp kitchen is either a cold thing, a cutting thing, a hot thing or a dirty thing, and mixing those four is what makes outdoor cooking feel chaotic. Keep the stove at the downwind end so smoke blows away from prep, and keep the wash station last so dirty water never travels back across food.
A camp kitchen has three surfaces: somewhere cold (the cooler), somewhere to work (a table) and somewhere hot (the stove). Most first-time setups have the third and not the second, which is why people end up chopping onions on their knees.
Purchase order for a family camp kitchen, from the item that sets the dimensions to the one that saves the trip.
The washing-up system
This is what separates a camp kitchen that survives a week from one that collapses on the second night. The classic three-bin method:
Bin one: hot soapy water. Heated on the stove, biodegradable soap.
Bin two: rinse. Clean water, no soap.
Bin three: sanitize. Cool water with a capful of unscented bleach, or the hottest rinse you can manage. Air dry on a rack; drying with a towel puts the dirt back.
Scrape plates into the trash before washing, never into the bushes, and dispose of greywater where the campground tells you to. Food scraps in the wash water attract animals and clog whatever they get poured into.
The two things everyone forgets
Water containers. Two 5-gallon jugs, one marked drinking and one marked washing. Almost every miserable camp kitchen story starts with one container and a long walk to the tap.
Light over the work surface. Cooking at dusk with a headlamp on your forehead means every pan you look into is in your own shadow. Hang a lantern above the table — see best camping lanterns.
The cookware you actually need
One 10 to 12 in pan, cast iron if you like weight, non-stick if you like washing up.
One 4 qt pot with a lid, for pasta, rice and boiling water.
A kettle, if morning coffee matters and you dislike waiting.
A cutting board, a real knife in a sheath, and a long spoon or spatula.
Plates and bowls in enamel or hard plastic, one set per person and no spares.
Tongs, a can opener, a lighter, and foil.
Everything else is optional. Camp kitchen sets sold in a bag mostly consist of items nobody uses twice.
Setting it up on arrival
Order matters: tent first while it is light, then the kitchen, then everything else. Put the table where it is level and out of the wind, the stove at the downwind end, the cooler in the shade and not in direct sun, and the water containers where they can be picked up without moving anything else. Then hang the light before you need it.
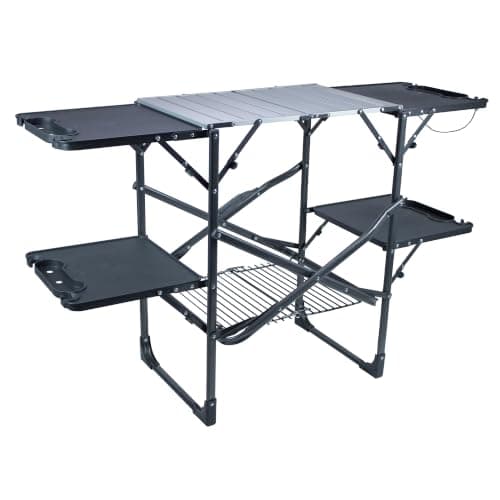
A 52 by 21 in aluminum top rated to 48 lb, four side tables and a storage rack, folding to 3.7 in wide.
GCI publishes an open size of 52 by 21 by 28 in, a folded width of 3.7 in, an 18.9 lb weight, and capacities of 48 lb on the main aluminum top, 30 lb on the side tables and 35 lb on the storage rack. The aluminum surface matters: you can put a hot pan straight down on it.
The reason it earns its space is height. Cooking at 28 in, standing, is far easier than cooking crouched over a stove on the ground.
The drawback
18.9 lb and it takes a real chunk of trunk space. If your campground has picnic tables, you may not need it at all.
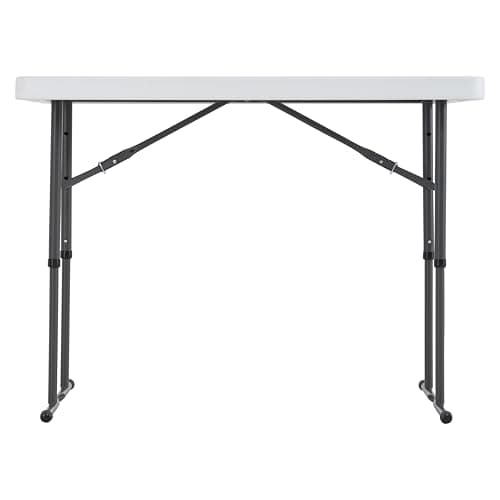
A 48 by 24 in HDPE top rated to 350 lb, with 24, 29 and 36 in height settings.
Lifetime publishes a 48 by 24 in top, three heights (24, 29 and 36 in), a 350 lb capacity, 24.9 lb weight and a ten-year warranty. The 36 in setting is standing-height counter, which is the single most useful thing a camp table can offer.
It is not camping-specific, which is the point: it costs less than most camp kitchens and gets used in the garage for the other fifty weekends of the year.
The drawback
24.9 lb of folding table with no built-in storage, no wind protection and nowhere to hang anything.
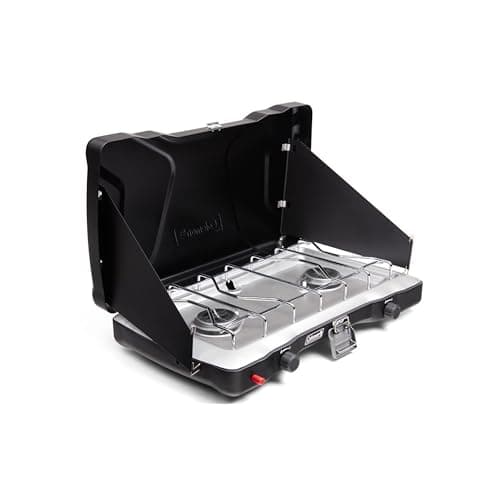
22,000 BTU across two burners, fitting a 12 in and a 10 in pan at once.
The stove sets the dimensions of everything else. Coleman publishes a 22.5 by 5 by 14.5 in body at 11.9 lb, which means your work surface has to accommodate the stove plus room to actually work beside it. That is why a 48 in table is the minimum sensible size and 52 in is comfortable.
The drawback
It needs about 2 ft of stable, level surface, which is what the table is for.
Published specs
Output
22,000 BTU total, 11,000 BTU per burner
Burners
2, independently adjustable
Ignition
push-button InstaStart
Weight
11.9 lb
Fuel
16.4 oz propane cylinder, up to about 1 hour on high
A two-burner stove, a work surface at standing height, a cooler, two water containers (one drinking, one washing), wash bins, basic cookware and a light over the work area. The table and the second water container are the items most often missing from a first setup.
QHow do you set up a camp kitchen?
Lay it out in a line: cooler, prep surface, stove, wash station, with the stove at the downwind end so smoke blows away from food prep and dirty water never crosses back over clean surfaces.
QDo you need a camp kitchen table?
If your campground guarantees picnic tables, no. Otherwise it is the highest-value purchase after the stove, because it is what lets you prep standing up instead of crouching over the ground.
QHow do you wash dishes while camping?
Scrape plates into the trash, then use three bins: hot soapy water, a clean rinse, and a sanitize bin with a capful of unscented bleach or the hottest rinse available. Air dry on a rack and dispose of greywater where the campground directs.
How we picked
Everyone else in this category will tell you they tested twenty of these. We have not tested any of them, and we would rather say so than pretend. There is no gear closet here and no test lab.
What we did instead: pulled the published specifications from each manufacturer's own spec sheet or manual, named the standard behind every rating so you can check what it actually promises, did the arithmetic that turns a spec into a decision, and pulled today's real retail price rather than quoting one from memory. Every pick states a drawback, because a list where nothing is wrong with anything is an advert.
The limits of that method, stated plainly: published specs do not capture zipper quality, seam durability, or how a tent behaves at 2am in a storm. Where that matters, we say so on the pick. The full method is here.