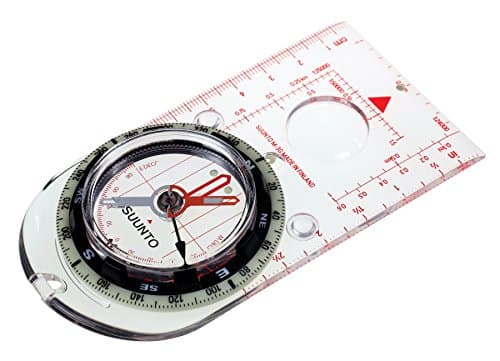
Suunto M-3 Baseplate Compass
Suunto
46 g with adjustable declination and six map scales on the baseplate, so bearings and distances need no arithmetic.
$54.47 · Check price on Amazon
#ad how this is funded · price as of October 23, 2026
You do not need to become a navigator. You need two techniques that take an afternoon to learn and about ten minutes a year to keep.
Trail & Tarp earns a commission from qualifying purchases made through links on this page, at no extra cost to you. Full disclosure.
The short answer
A paper map of the area at a useful scale, a baseplate compass with adjustable declination, and the knowledge of two techniques. That is the whole kit, it weighs about three ounces, and none of it has a battery. Keep the phone as the primary tool if you like — it is a good one — and treat this as what still works when the phone does not.
Put the map in a waterproof case or a zip bag, because a paper map in rain becomes pulp in about ten minutes. And set the compass declination before you leave home rather than in the field — a Brunton TruArc 3 adjusts tool-free, and a Suunto M-3 uses a small built-in key.
This is the technique that does the most work, and it takes thirty seconds. Orienting the map means turning it so that what is drawn on the paper lines up with what is in front of you.
Once the map is set, navigation becomes recognition rather than calculation. You look at a landform, find it on the paper, and you know where you are. Most of the time this is all you need, and it is why reading contour lines is worth an afternoon — how to read a topographic map.
For when there is nothing to recognize: fog, forest, featureless moor, or dark.
| Step | What to do |
|---|---|
| 1 | Put the compass edge on the map, from where you are to where you want to go, direction-of-travel arrow pointing the way you want to travel |
| 2 | Turn the compass housing until the orienting lines inside align with the map's north-south grid lines, north on the housing toward map north |
| 3 | Read the bearing at the index line. That number is your bearing |
| 4 | Take the compass off the map, hold it flat at waist height in front of you, and turn your whole body until the needle sits inside the orienting arrow |
| 5 | The direction-of-travel arrow now points where you are going. Pick a visible object on that line, walk to it, and repeat |
Step five is the one people skip and the one that makes it work. Walking with your eyes on a compass produces a curve; walking to a tree you identified on the bearing produces a straight line. On open ground pick something far away; in forest pick something close and repeat often.
Keep metal away from the needle
Vehicles, power lines, rebar, ice axes, camera batteries and the phone in your other hand all deflect a compass needle. Step several paces away from anything metal or electronic before taking a bearing, and hold the compass away from your body. A bearing taken while leaning on a car bonnet can be wildly wrong and will look completely normal.
Handrails. Follow a linear feature — a stream, a wall, a track, a forest edge — instead of a bearing wherever one runs your way. It is faster, it needs no attention, and you cannot drift off it.
Catching features. Pick something you cannot miss beyond your target: a road, a river, a ridge line. If you reach it, you know you have gone too far, which converts an anxious walk into a bounded one.
Aiming off. When heading for a point on a linear feature — a bridge on a stream — deliberately aim to one side. Then when you hit the stream you know which way to turn, instead of standing there guessing.
These three are what experienced navigators actually use, and they are far more robust than precise bearings, because they tolerate the errors everyone makes.
Two rough methods, both worth knowing. Timing: most adults walk about 3 miles per hour on easy ground, considerably less with a pack or on rough terrain, so twenty minutes is roughly a mile. Pacing: count double-paces over a measured 100 m at home to find your personal number, then count them in the field.
Neither is precise and both are enough. Knowing you have walked roughly 800 m of a 1 km leg tells you to start looking for the feature you are expecting, which is the whole purpose.
Stop. This is the actual technique, and it is the one that gets ignored. Walking on while unsure turns a small uncertainty into a large one, and every minute of it makes the problem harder to unpick.
Set a bearing across a park you know and walk it. Orient a map at a campsite. Pace out 100 m in a field. Twenty minutes somewhere familiar embeds this better than reading about it three times, and the skills fade without use.
Keep the phone too. Download offline maps before losing signal, and use the phone freely — the point is not purity, it is that a compass and a paper map still work when a phone is flat, wet or broken. What none of this does is call for help, which is a different category entirely — see satellite messenger vs PLB vs two-way radio.
Suunto
46 g with adjustable declination and six map scales on the baseplate, so bearings and distances need no arithmetic.
#ad how this is funded · price as of October 23, 2026
Brunton
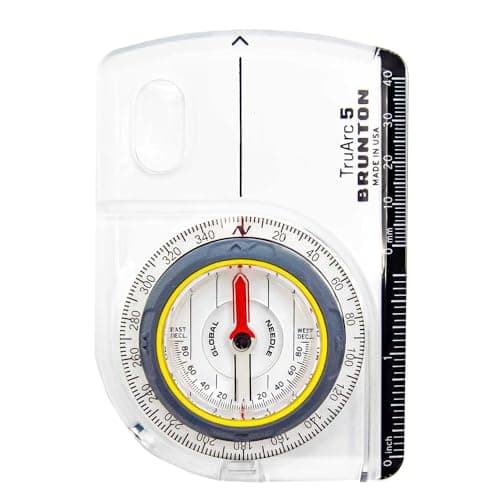
1.1 oz with tool-free declination adjustment. The one that stays in a pack lid permanently because it weighs nothing.
#ad how this is funded · price as of October 23, 2026
Silva
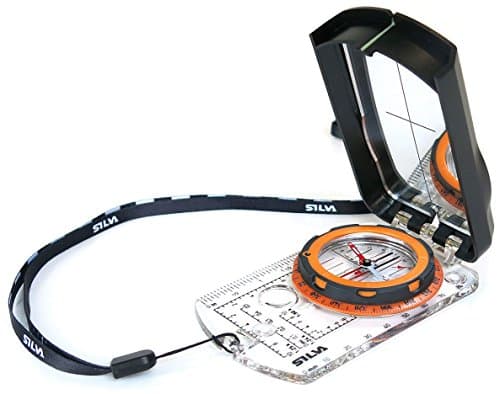
Mirror sighting with luminous points, usable for up to 4 hours after being charged by light. Precision, and night capability.
#ad how this is funded · price as of October 23, 2026
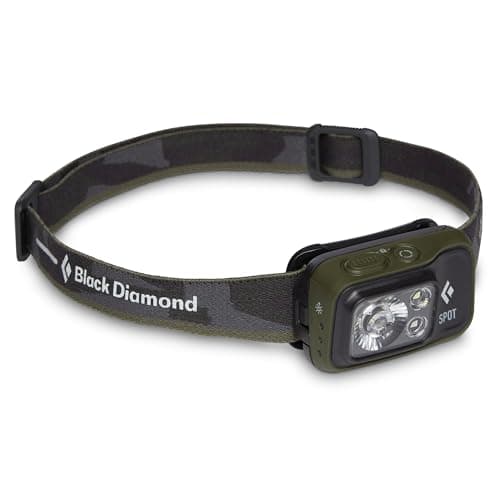
Black Diamond
400 lm high, 200 hours at low. If the answer is to stop and wait, a headlamp and a spare layer are what make that safe.
#ad how this is funded · price as of October 23, 2026
Lay the compass on the map with its edge along a north-south grid line and the direction-of-travel arrow toward the top of the map, then turn the map and compass together until the magnetic needle sits inside the orienting arrow. The map now matches the ground.
Put the compass edge on the map from your position to your destination, turn the housing until its orienting lines match the map's north-south grid lines, read the bearing at the index line, then hold the compass flat and turn your body until the needle sits in the orienting arrow.
Stop, sit down and eat something. Establish the last point you were certain of, orient the map and look around for identifiable features. If you can fix your position, continue; if not, return to the last known point rather than pressing on toward a guess.
Accurate enough if you sight on visible objects along the bearing and walk to them rather than watching the compass. Use handrails, catching features and aiming off to make legs forgiving - those techniques tolerate the errors everyone makes.
Every figure on this page comes from a published source. We have not tested this gear, so the numbers are the manufacturer's or the standard body's, not ours. How we research.