Trail & Tarp earns a commission from qualifying purchases made through links on this page, at no extra cost to you. Full disclosure.
Never put a pack in a washing machine
The short answer
A machine wash abrades the polyurethane coating on the inside of the fabric, deforms the foam in the back panel and hip belt, and can damage the frame. Hand wash in a bath or a large tub, with lukewarm water and a technical wash, and let it dry hanging upside down with every pocket open. A pack is a structured object with foam and a frame, not a garment.
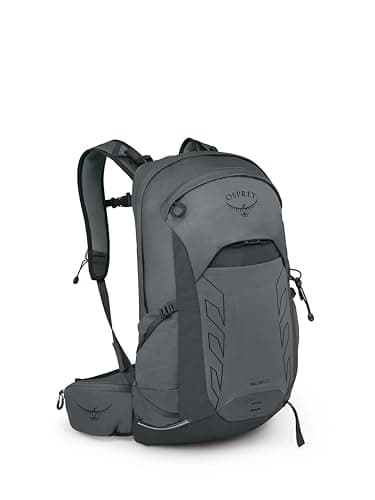
The other thing to avoid is household detergent, for the same reason it should not go near a rain jacket: detergents leave water-attracting residues that undo the DWR finish. Osprey publishes PFC-free DWR on the Daylite Plus, and a technical wash preserves it. The full chemistry is in how to wash and reproof a rain jacket.
The full clean, once a season
Empty everything, including the pockets you forgot. Turn the pack upside down and shake; crumbs and grit are what abrade the inner coating in transit.
Remove what comes off. Hip belt, lid, frame sheet, rain cover, straps. Anything removable washes better separately and dries far faster.
Vacuum or brush the inside before adding water. Wet grit turns into a paste that gets everywhere.
Soak briefly in lukewarm water with technical wash, no more than 30 minutes. Hot water can delaminate coatings.
Sponge the fabric, brush the mesh and the hip belt with a soft brush, and pay attention to the shoulder straps, where body oils build up.
Rinse twice and hang upside down with every zip open until it is completely dry — usually a day or two indoors.
Zips: the most common failure and the easiest fix
Zips fail from grit rather than wear. A coil zip that runs stiffly is nearly always dirty, and a slider that separates the teeth behind it is usually a slider that has widened, not a broken zip.
Symptom
Cause
Fix
Stiff, gritty action
Sand and dust in the coil
Brush both sides with an old toothbrush, rinse, dry, then lubricate
Teeth separate behind the slider
Slider has spread with wear
Squeeze the slider gently with pliers, a fraction at a time, until it grips again
Slider will not move at all
Fabric caught, or a bent coil
Ease the fabric out; straighten coil teeth with fingernails, not pliers
Pull tab broken
Cosmetic
A loop of cord through the slider works permanently
Three of these four are fixed in the field with a multi-tool and five minutes.
Lubricate with a zip-specific lubricant or a rub of paraffin wax; do not use oil, which attracts dirt and makes the problem worse next time. A multi-tool with pliers is what makes the slider fix possible at a campsite, which is one of the arguments in best multi-tools for camping.
Buckles are consumables, and they are standardized
Side-release buckles come in standard webbing widths — commonly 20 mm, 25 mm, 38 mm and 50 mm — so a snapped buckle is a matter of measuring the webbing and fitting a replacement, not writing off the pack. Sea to Summit even publishes a field-replaceable buckle on its dry bags for the same reason. Carry a couple of spares in the size your pack uses; they weigh nothing and they turn a trip-ending failure into a two-minute job. The rest of that kit is in camp gear repair kit essentials.
Hip belts, shoulder straps and the smell
Packs smell because sweat soaks into foam and mesh and stays there. The fix is washing the parts that touch you more often than the pack as a whole: pull the hip belt and shoulder harness where they detach, wash them in the sink after a sweaty trip, and let them dry completely.
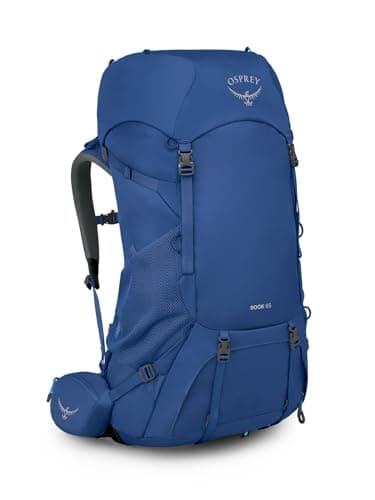
A Rook 65 publishes an adjustable harness across an 18 to 22 in torso range, and a TETON Scout 3400 publishes a 26 to 60 in waist belt — adjustable parts are also removable parts on many packs, which makes this easy. Recheck the fit after washing, because damp foam recompresses; the method is in how to fit a backpack.
Storage: the part that quietly ruins packs
Store a pack empty, dry, loosely, and out of sunlight. Three specific things to avoid:
Compressed under other gear. Back-panel and hip-belt foam takes a permanent set, and a deformed hip belt never fits properly again.
Sealed in plastic. Any residual moisture becomes mould, and mould on the inner coating is where hydrolysis starts.
In sunlight. UV degrades nylon and polyester faster than any amount of use. A pack on a hook by a window ages every summer.
Loosen every strap before storing so the webbing and buckles are not under tension for months, and leave the lid and main compartment open. The same rules apply to tents, in how to clean and store a tent.
Field repairs that save a trip
A torn pack body is fixable with adhesive repair tape from the inside and the outside, which is stronger than it sounds and often permanent. A snapped shoulder strap can be lashed with cord through the attachment points. A broken frame stay can be splinted with a tent pole splint. A blown hip belt buckle can be replaced with a spare or, at a pinch, tied.
What you cannot fix in the field is a delaminated inner coating or a cracked frame, and both of those come from the storage mistakes above rather than from use. Look after the pack in the eleven months it is not being carried and it will comfortably outlast the tent, the pads and most of the rest of the kit — which is also why packs are one of the better secondhand buys, per how to buy used camping gear.
The gear this page points to
Osprey Rook 65
Osprey
An adjustable 18-22 in harness with an integrated rain cover. Adjustable usually means removable, which makes washing the parts that touch you easy.
No. A machine wash abrades the polyurethane coating inside the fabric, deforms the back panel and hip belt foam, and can damage the frame. Hand wash in a bath with lukewarm water and a technical wash, then hang it upside down with every pocket open to dry.
QHow do you fix a backpack zip that separates behind the slider?
The slider has widened with wear rather than the zip breaking. Squeeze the slider gently with pliers, a fraction at a time, testing after each squeeze until it grips the coil again. Clean the coil first, because grit is what wears sliders out.
QCan you replace a broken backpack buckle?
Yes. Side-release buckles come in standard webbing widths - commonly 20, 25, 38 and 50 mm - so measure the webbing and fit a replacement. Carrying a couple of spares in your pack's size turns a trip-ending failure into a two-minute job.
QHow should you store a backpack between trips?
Empty, completely dry, loosely, out of sunlight, with every strap slackened and the compartments open. Do not compress it under other gear, because the back panel and hip belt foam take a permanent set, and never seal it in plastic while damp.
Sources
Every figure on this page comes from a published source. We have not tested this gear, so the numbers are the manufacturer's or the standard body's, not ours. How we research.