How to Break In Hiking Boots, and How to Tell When They Will Never Fit
Modern boots need far less breaking in than their reputation suggests. What they need is for you to find out where they rub before the trip rather than during it.
Trail & Tarp earns a commission from qualifying purchases made through links on this page, at no extra cost to you. Full disclosure.
What breaking in actually does
The short answer
Breaking in softens the upper so it flexes where your foot flexes, and lets the footbed compress to the shape of your sole. It does not make a boot longer, wider or narrower in any meaningful way. A boot that is the wrong shape will still be the wrong shape in fifty miles. The difference matters, because most people persist with boots that were never going to fit and give up on boots that only needed a lacing change.
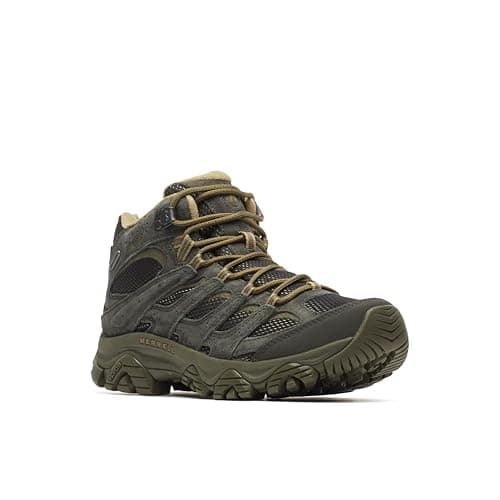
Modern mid-cut boots with synthetic uppers and pre-molded midsoles arrive close to their final shape. A Merrell Moab 3 Mid Waterproof publishes 1 lb 1.45 oz per shoe on a Vibram TC5+ outsole with an 11.5 mm drop and 5 mm lugs — a light, flexible boot that needs days rather than the weeks a stiff full-leather boot once did. All-leather boots still take real time; almost nothing a beginner buys is all leather.
The staged plan
Stage
What to do
What you are looking for
1. Indoors, an hour a day
Wear them around the house with hiking socks
Anything that pinches while standing still
2. Short walks, 2 to 3 miles
Pavement, flat, with a light day pack
Heel lift, toe contact, hot spots
3. Hills, both directions
Find a slope and go up and down it
Toe bang on the descent, heel slip on the climb
4. Loaded, on terrain
Trip weight in the pack, uneven ground
Ankle roll, pressure points under the load
Four sessions over a couple of weeks finds almost everything. Doing this on day one of a trip finds it too late.
The hill stage is the one people skip and it is the most informative. Flat pavement tells you nothing about descents, and descents are where feet get injured: your foot slides forward, your toes hit the front, and one long downhill produces black toenails that flat walking never would have revealed.
Lacing fixes, before you conclude the boot is wrong
Two problems account for most boot discomfort, and both usually have a lacing solution rather than a replacement.
Heel lift — the heel rising out of the boot as you walk — is the cause of most heel blisters. The fix is a heel lock, sometimes called a surgeon's knot or a runner's loop: at the top two eyelets, thread each lace back through its own side to form a loop, then pass the opposite lace through that loop before tying. It locks the ankle back into the heel cup without tightening the whole boot.
Toe bang on descents means the foot is sliding forward. Tighten the lower laces before the upper ones so the midfoot is held, use the heel lock above, and check the boot is genuinely long enough — there should be a thumb's width beyond your longest toe when standing. If there is not, the boot is too short, and no technique fixes that.
Pressure across the top of the foot is fixed by window lacing: skip the pair of eyelets over the sore point and lace straight up the sides past it. It relieves the spot without loosening anything else.
Socks are half of the fit
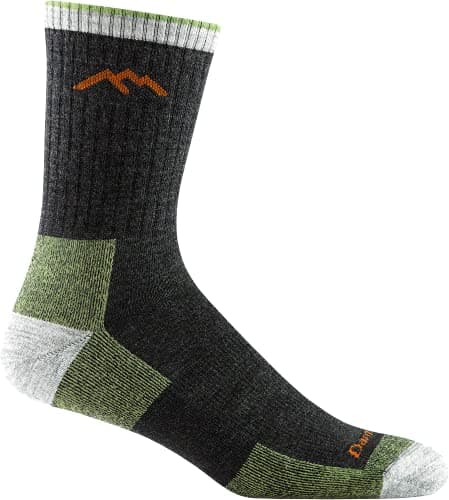
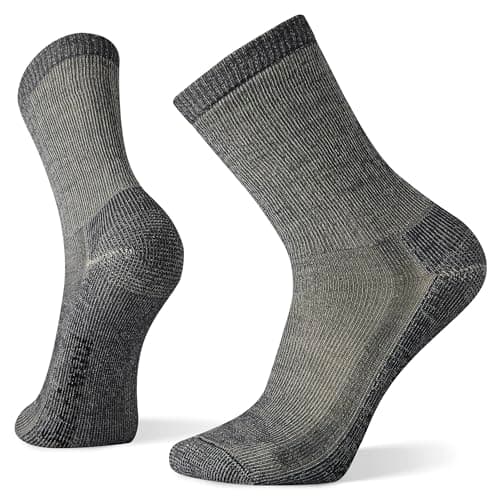
Try boots on, and break them in, wearing the socks you will actually hike in. A full-cushion sock takes up real volume and a boot fitted with thin socks will feel tight with thick ones. Sock height matters too: a mid boot cuff rubbing on bare skin or a sock edge is exactly where blisters form, so pair mid boots with crew-height socks. A midweight merino sock is the default, and the full comparison is in the hiking sock roundup.
Hot spots are the warning, blisters are the failure
A blister does not appear without notice. It is preceded by a hot spot — a patch that feels warm, then tender, then sore — and the entire skill is stopping at the warm stage rather than the sore one.
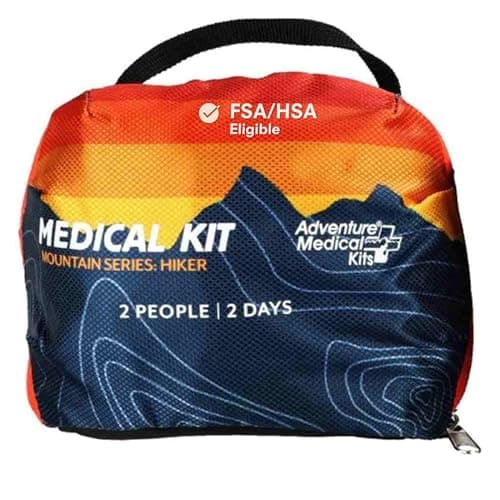
The rule is simple and almost nobody follows it: stop the moment you notice, take the boot off, and tape the spot. Two minutes then saves a day later. Carry moleskin or blister tape somewhere you can reach without unpacking, and treat a hot spot as a reason to stop rather than something to push through to the next break.
Soaking boots in water and wearing them dry. This was a technique for stiff full-grain leather military boots and it damages modern synthetic uppers, adhesives and waterproof membranes. Do not do it to a boot with a membrane.
Heat, from a hairdryer or a fire. Adhesives soften and midsole foams deform. You can permanently ruin a boot in ten minutes.
“Just push through it.” Ten miles in a boot that hurts at two gives you an injury, not a broken-in boot.
The one folk method that does help is a leather conditioner on full-grain leather boots, used sparingly. On synthetic and membrane boots it does nothing useful and can clog the fabric.
How to know when to give up on a boot
Return them if any of these is true after stage two:
Length. Your toes touch the end when standing, or you cannot get a thumb's width past the longest toe. Feet swell on a long day; a boot that is exactly right in a shop is too short on a trail.
Width at the ball. Pressure on the sides of the forefoot that lacing cannot relieve. Uppers stretch a little; lasts do not change.
Heel cup shape. Heel lift that a heel lock does not solve means the cup is the wrong shape for your heel.
Numbness. Any persistent numbness is a nerve compression problem, not a break-in problem.
None of those is a defect and none of them improves. Boot lasts differ enormously between brands, and the answer is a different brand rather than more miles — the three in the boot roundup are deliberately from three different makers for that reason.
Keeping them once they fit
Dry them at room temperature, never on a radiator or by a fire — heat is what cracks leather and delaminates midsoles. Take the insoles out to dry separately. Brush the mud off before it dries, because grit in the seams is what abrades stitching.
Waterproof membranes stop working when the outer fabric wets out and stays saturated, which is a cleaning and DWR problem rather than a membrane failure. The same maintenance applies to shells, and it is set out in how to wash and reproof a rain jacket.
The gear this page points to
Merrell Moab 3 Mid Waterproof
Merrell
1 lb 1.45 oz per shoe on a Vibram TC5+ outsole with 5 mm lugs. A flexible synthetic mid that needs days of break-in rather than weeks.
A couple of weeks of short walks for modern synthetic mid boots, and considerably longer for stiff full-grain leather. Four sessions - indoors, short flat walks, hills in both directions, then loaded on terrain - finds almost every problem before a trip does.
QHow do I stop my heel lifting in hiking boots?
Use a heel lock at the top two eyelets: thread each lace back through its own side to form a loop, then pass the opposite lace through that loop before tying. It holds the ankle back in the heel cup without tightening the whole boot.
QShould I soak hiking boots to break them in?
No. Soaking was a technique for stiff full-grain leather military boots and it damages modern synthetic uppers, adhesives and waterproof membranes. Heat from a hairdryer or a fire is worse and can permanently deform a midsole.
QHow do I know if hiking boots will never fit?
Return them if your toes touch the end when standing, if forefoot pressure cannot be relieved by lacing, if heel lift persists after a heel lock, or if you get any persistent numbness. Boot lasts differ between brands, so the fix is a different brand rather than more miles.
Sources
Every figure on this page comes from a published source. We have not tested this gear, so the numbers are the manufacturer's or the standard body's, not ours. How we research.