How to Pack a Backpacking Backpack So It Stops Fighting You
A pack that hurts is usually not the wrong pack. It is the right pack with the heavy things in the wrong place, worn with the belt two inches too high.
Trail & Tarp earns a commission from qualifying purchases made through links on this page, at no extra cost to you. Full disclosure.
The short version
The short answer
Heavy items go against your back at roughly shoulder-blade height. Light and bulky goes at the bottom. Medium weight fills the outside and the top. Then tighten the hip belt first and the shoulder straps second. Weight carried close to your spine and near your center of gravity feels lighter, because it does not pull you backward or swing when you step onto uneven ground.
Why position changes the felt weight
A loaded pack is a lever. The further the weight sits from your spine, the more it rotates you backward and the harder your lower back and shoulders work to keep you upright. Move the same weight two inches closer to your back and nothing about the mass changes, but the torque does — and torque is what your body experiences as effort.
Height matters for a different reason. Weight carried low sits below your center of gravity and pulls you back on climbs. Weight carried very high sits above it and makes you unstable when you step onto a rock and your foot moves. The compromise almost everybody converges on is heavy items between the shoulder blades and the middle of the back, tight against the frame.
The three zones
Zone
What goes there
Why
Bottom third
Sleeping bag, sleeping clothes, camp shoes
Bulky, light, and not needed until you stop
Core, against your back
Food, stove and fuel, water reservoir, cookware, bear canister
The dense items, kept close to the spine at shoulder-blade height
Core, away from your back
Tent body and fly, spare clothing
Fills the gap so the dense items cannot shift outward
Top and lid
Rain shell, warm layer, first aid kit, headlamp, map
Needed at short notice, without unpacking
Hip belt and shoulder pockets
Snacks, phone, lip balm, sunglasses
Reachable without taking the pack off
The standard loading pattern for an internal-frame pack.
Two things break this pattern legitimately. A heavy water reservoir goes in its sleeve against your back, which is where it belongs anyway. And on scrambling terrain, where a backward pull is genuinely dangerous, experienced walkers drop the heavy items slightly lower to trade a little efficiency for stability.
Fill every void, then compress
Air is the enemy. A pack with gaps in it lets the load shift with every step, and a load that shifts is a load you have to counteract. Stuff socks into the pot, put the fuel canister inside the cook set, and push soft clothing into the corners rather than laying it flat.
Then use the compression straps. They exist to pull the load in toward the frame, not primarily to make the pack smaller. Tighten them after packing, top to bottom, and again after the first mile once everything has settled.
Waterproofing: the part people learn the hard way
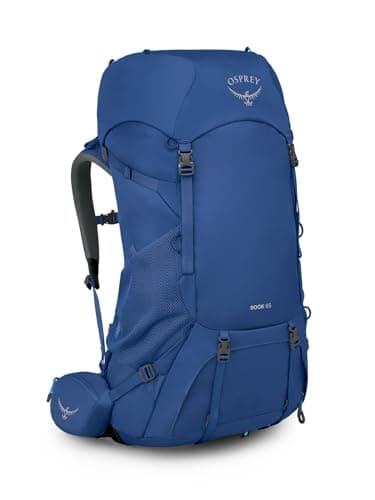
Pack fabric is coated; seams and zips are not. In sustained rain a pack wets through and a stuffed sleeping bag becomes a wet sleeping bag, which is a genuinely serious problem rather than an inconvenience. Two fixes work: an integrated or separate pack cover, which the Osprey Rook 65 includes, or a heavy-duty liner bag inside the pack. Both is better. If you buy nothing else, a dry bag for the sleeping bag is the highest-value few ounces you will carry.
Fitting the pack, in this exact order
This is the part that fixes most uncomfortable carries, and it has to be done with the pack loaded. An empty pack fits perfectly and tells you nothing.
Loosen everything. Shoulder straps, load lifters, hip belt, sternum strap.
Set the hip belt. Lift the pack on, then position the belt so its padding wraps the top of your hip bones — the belt should straddle that bony ridge, not sit above it on your waist. Tighten it firmly. This is where most of the weight is going to live.
Snug the shoulder straps. Pull them until they follow the shape of your shoulders. They should touch and guide, not carry. If tightening them lifts the load off your hips, your torso length is wrong for the pack — see how to measure your torso.
Set the load lifters. The short straps from the top of the shoulder straps to the frame should sit at roughly 45 degrees. Pull them just enough to close the gap between the pack and your shoulders. Overtightening them drags the load onto your collarbones.
Clip the sternum strap. An inch or so below the collarbone, snug enough to stop the shoulder straps sliding outward, loose enough to breathe deeply.
Then walk for ten minutes and redo steps two and three. Everything settles, and a belt that was tight at the trailhead is loose by the first bend.
What to strap on the outside, and what not to
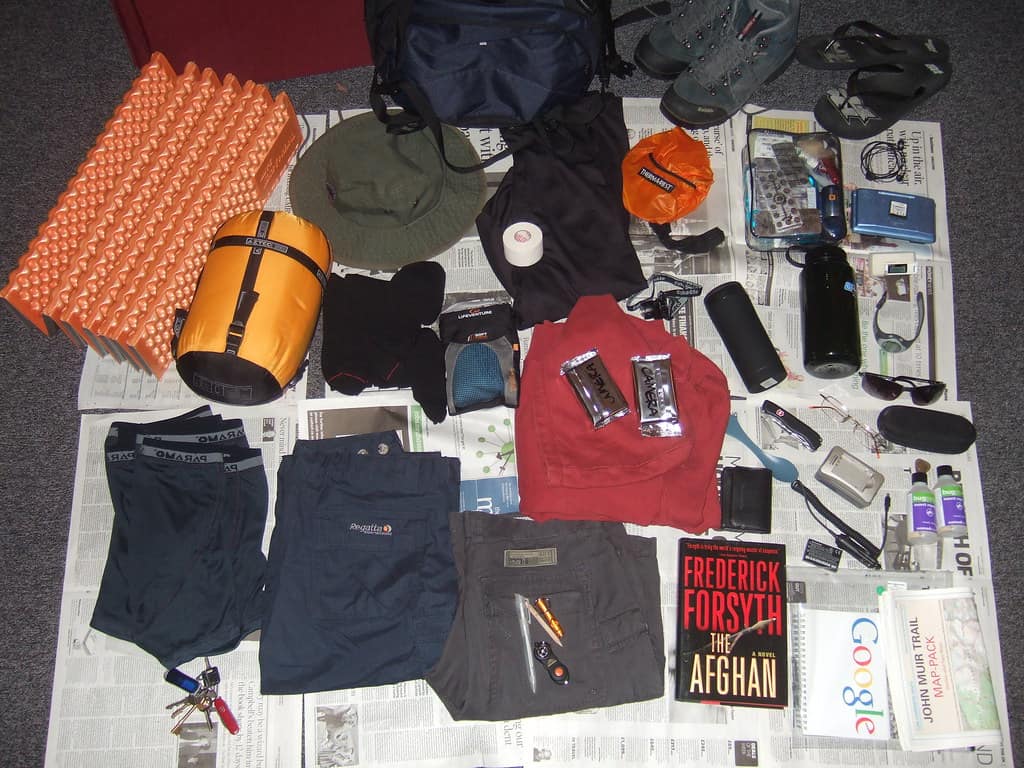
The outside of a pack is for things that are wet, dirty, or needed instantly: a rolled foam sleeping pad, trekking poles, a wet fly. It is not general storage. Anything hanging off a pack swings, catches on branches, and quietly gets lost — the classic casualty being a pair of shoes tied on by their laces.
Keep the load symmetrical. A pack with a water bottle on one side and nothing on the other makes you walk very slightly crooked for eight hours, and you will feel it in one hip the next morning.
Then take some of it back out
The best packing technique in the world does not fix a pack that is simply too heavy. The usual first-trip mistake is not one large item, it is fifteen small ones: three spare shirts, a second pair of shoes, a full-size wash bag, four days of food for two nights. Lay everything out, and put back only what you will use every day or need in an emergency.
QWhere should the heaviest items go in a backpack?
Against your back at roughly shoulder-blade height, in the middle of the pack. Close to the spine reduces the backward pull, and mid-height keeps the load near your center of gravity so you stay stable on uneven ground.
QShould the sleeping bag go at the bottom of the pack?
Yes. It is bulky, light, and not needed until you stop, which makes it the ideal filler for the bottom compartment. Keep it in a dry bag or a liner, because a wet sleeping bag is a genuine problem rather than an inconvenience.
QHow tight should a backpack hip belt be?
Firm enough that it does not slide down when you let go of the shoulder straps. The padding should wrap the top of your hip bones rather than sit above them on your waist. Roughly 80 percent of the load should be carried there.
QWhy do my shoulders hurt when I wear my backpack?
Almost always because the load is on your shoulders rather than your hips. Loosen everything, set and tighten the hip belt on your hip bones first, then snug the shoulder straps. If tightening the shoulder straps lifts the load off your hips, the pack's torso length does not match your back.
Sources
Every figure on this page comes from a published source. We have not tested this gear, so the numbers are the manufacturer's or the standard body's, not ours. How we research.